Exploring Depth-Based Raw Photo Processing in Julia
Models for estimating depth from a single image (e.g, Depth-Anything-V2, MiDaS) are pretty good nowadays, to the point where they can be used for photo editing (even Photoshop use them).
In this article, I explore some applications of a depth mask for phography using Depth-Anything-V2 in Julia. The most obvious use case is to simulate bokeh (especially for smartphone that often can’t produce shallow depth of field optically), but a depth mask can also be used to add or remove haze from an image, simulate lighting with a flash or provide a natural vignette . These can help to add depth to an image and emphasize its subject.
Julia is an excellent ecosystem for this since it provides all the necessary ingredients: raw file processing with LibRaw, GUI with integrated openGL plots with Gtk4 and Gtk4Makie, loading and running the depth estimation model with ONNXRunTime, easy and fast GPU and CPU kernels with CUDA.jl and LoopVectorization.jl and generally easy and fun development experience (minus the loading times, which becomes significant with such a stack).
Using depth mask to modify exposure
The most basic usage of the depth mask is to use it to darken or brighten the image depening on the distance to the camera. Brightening based on depth looks similar to using a flash or another light source, while darkening acts more like a vignette.
Using depth mask to add fog
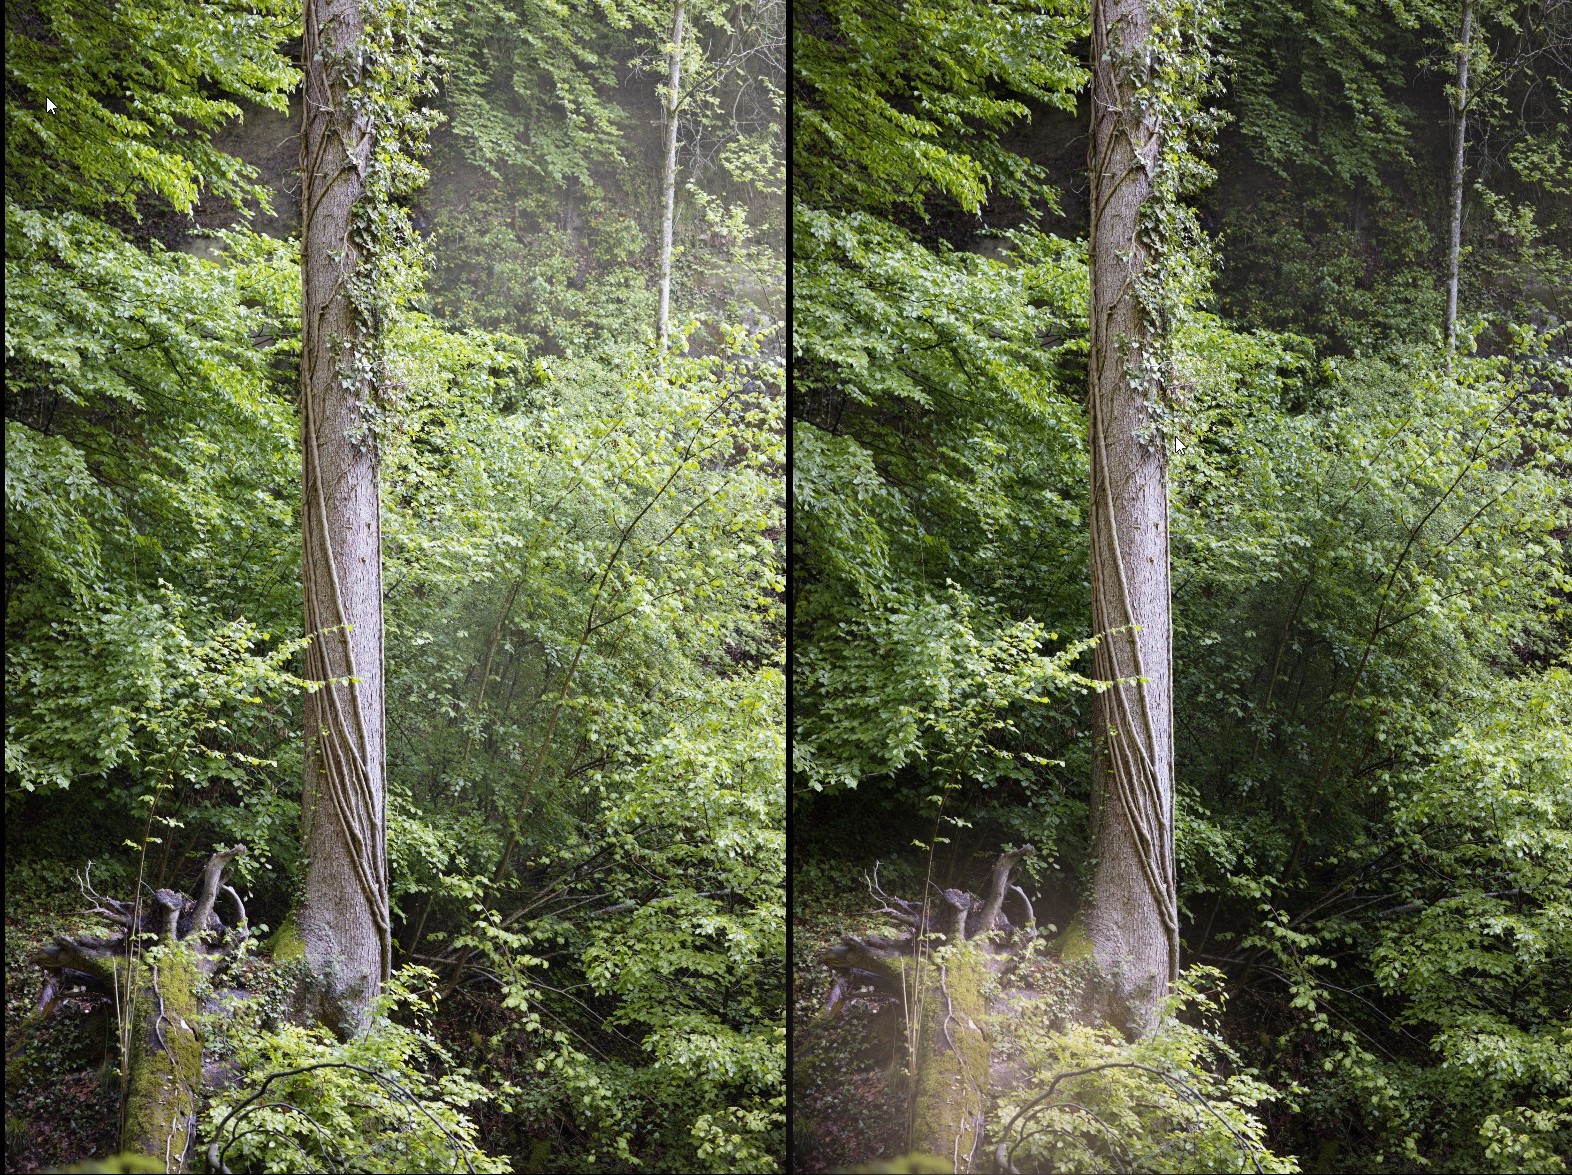
Another application is add fog to an image, in my implementation I simply add white to the raw data based on the depth mask. This can work well for some type of images, and can help to tame a busy background. For example here I tried to emphasize the plants in the foreground and add a bit of haze.
Using depth-of-field to modify exposure
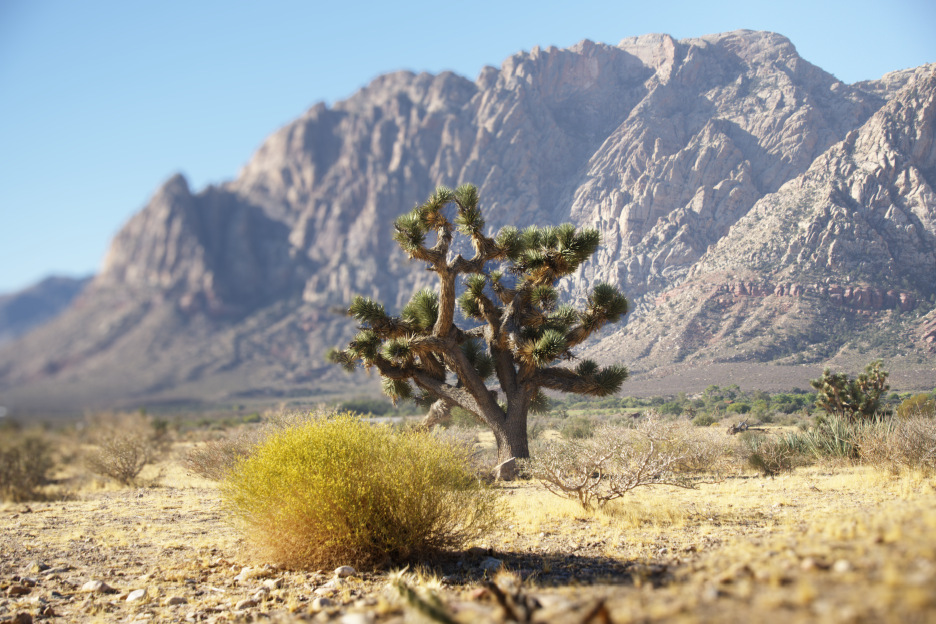
The depth mask can be further processed to produce a depth-of-field mask, by setting a distance for the focal plane and using some function to compute how the focus falls off from there. This mask can be used for bokeh but it can also be used to tweak exposure. This gives more control over which part of the image gets affected, compared to using only the depth mask. In this example I try to emphasize the tree by darkening parts of the background :
Before and after the adjustment :
Using depth of field to add bokeh
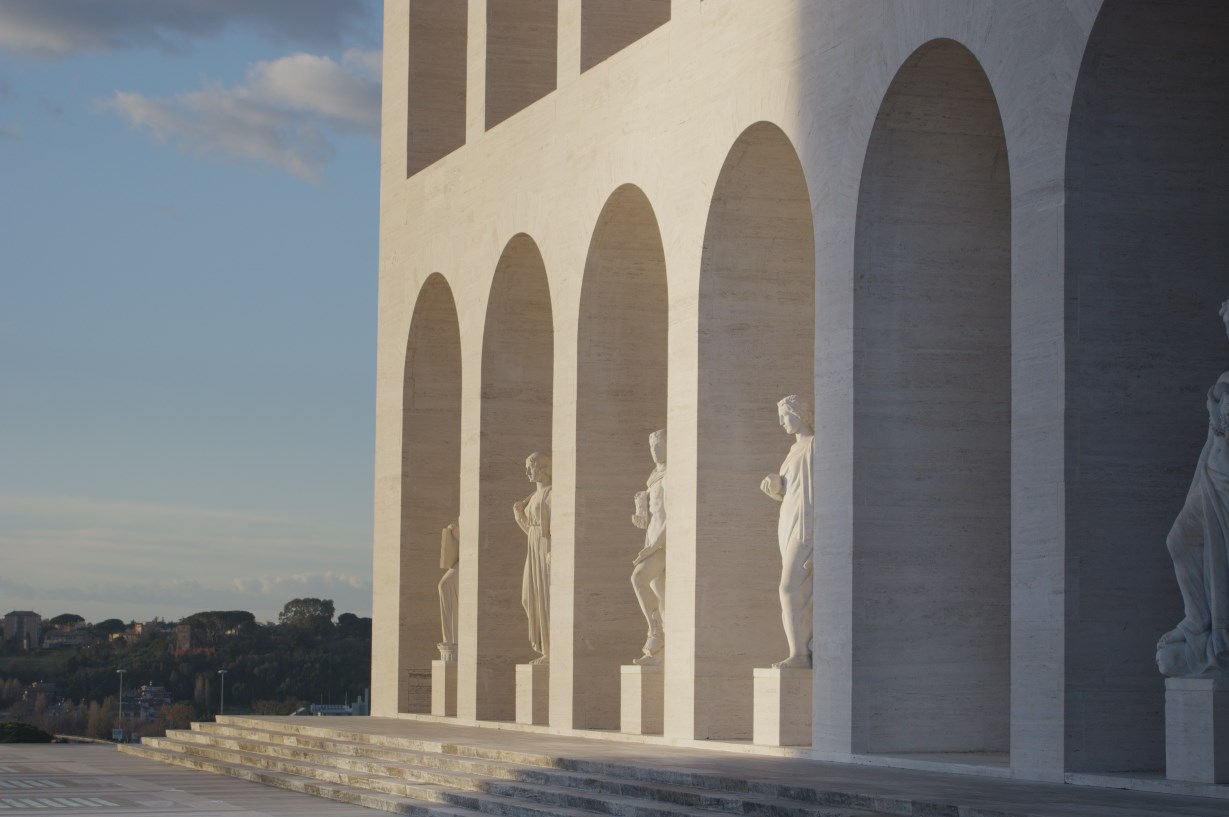
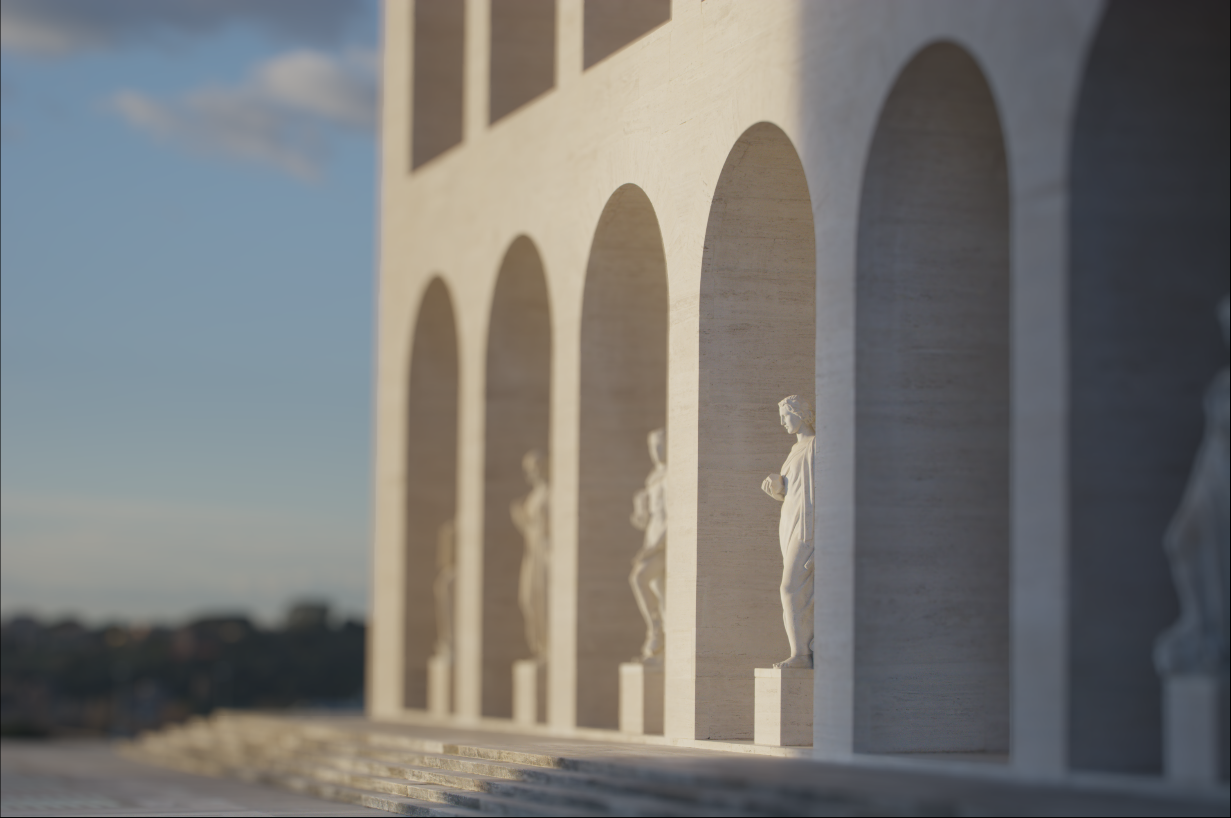
Of course it’s possible to use the depth of field mask to add bokeh to an image. In practice I found that the depth mask wasn’t precise enough for portrait style picture (my rough bokeh simulation probably doesn’t help). On my machine the maximum resolution I could run the model on was 1190x910. In some cases it can help to emphasize part of the image (here one of the statue), even though it often ends up looking like a tilt-shift shots :
Conclusion
In my opinion fog and exposure manipulation are the most useful application of the depth-mask, alhough these can be probably be achieved with traditional masks as well. A more advanced for model (simulating absorption and scattering using colors from the image) would be interresting to try. The model file is 300MB and running it on the GPU requires a good amount of VRAM, so while the technical requirements are reasonable, it doesn’t come for free.
Source code
Code is available here (highly experimental) : https://github.com/jonathanBieler/Focal.jl